So why not make as much of your life as you can? When we began remodeling our first and current home we decided to use as many re-purposed items as possible and to hand make as much of it as possible. So far I'd say we've really done great rethinking traditional products on new applications. We have made our own light fixtures, counter tops, floors,cabinets, furniture, and so much more.For nearly 3 years I have wanted to diy a chandelier for our dining room. Believe me when I say that the current one isn't really as bad as it could be but it has just never fit in the style of our home and certainly doesn't make a statement. I have been looking for one of those ugly old 80"s light fixtures for about 2 years and just last week we were able to get one off craigslist. Seriously, I waited 2 years for this...
Yep, 2 years! I know, I know it looks like it needs to go back from whence it came but after removing the ummm...interesting glass shade I was left with this...
It's a little better anyhow! More importantly, it has loads of potential. There are so many many things I could do with it from here but I've had my heart set on 1 light fixture and 1 light fixture only for ages...
Something between this and this, both over a grand, and both from restoration hardware. I had seen a few other bloggers make similar chandeliers using laminate edge banding so off I went to the hardware store and bought 65 ft of adhesive backed oak veneer edging.

Because the veneer is so thin and because I did not want to have to look at the bumpy surface of the adhesive I decided to iron 2 strips back to back in order to have a sturdier and better looking hoops. But, in order to have nice smooth round hoops I needed to iron them together in the circular shape and size they needed to be. Just ironing them together on a flat surface makes it so they cannot bend with out the inner strip buckling. I could find lots of things the same size as I wanted my hoops but none of them would be able to withstand the heat from my iron. Lucky for me my man is a homebrewer so out to the garage I went to drag back his giant 10 gallon keg. All I had to do was lay the strips back to back and secure them with tape to the keg. After the first one it only took me about 20 minutes to do the other 5 hoops.

Carefully I ironed the strips together without joining the ends (so I could remove them from said keg). Once removed, I double checked the circumference of my hoops and secured the ends, turning them into rings.
As I mad the rings I would configure the piece to make sure they fit properly
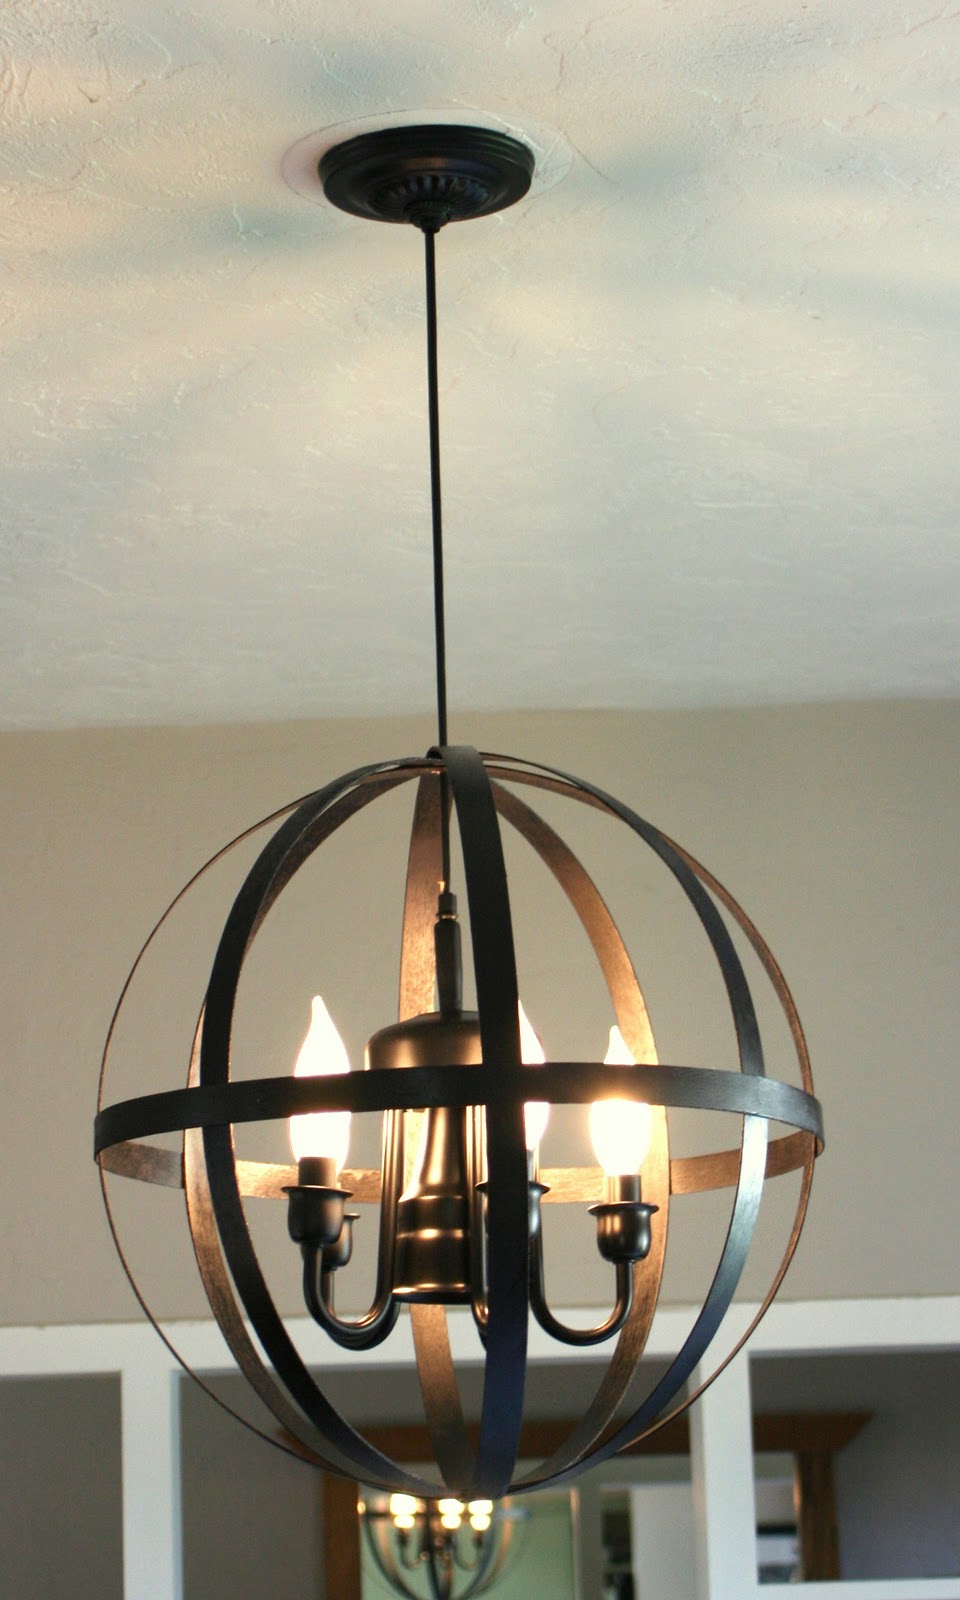
The final piece will be similar to this, but with a lamp inside...I think
After lightly sanding the edges of the rings I prepped the lamp and the rings for paint. Initially I had planned on staining the rings a dark brown and painting the lamp black but after really thinking about it I decided to paint the entire thing black.
Today I will finish the painting and see if I can get the whole thing put together without an extra set of hands. We are also re-staining our deck this weekend so the Mr. has sworn off any of my projects until the deck is finished. I am hoping to have it up by next week so I can include it into my Halloween decorating, we'll see!
Speaking of Halloween, My Diction-fairy costume from last year has been getting a lot of love on Pinterest so I thought I'd show all of you how you can make your own. with just a glue gun and an old dictionary you can fashion a super cute and unique costume so make sure you come back for that.
Is dining under good light!


 & Pumpkin Spice!


